
The ArtShow mobile app has a purpose-built “Take Picture” function to help you capture and add your artwork quickly and easily, with great results.
Here are our top tips for taking the best photos of your artwork:
- Find a location with plenty of natural light but not direct sunlight.
- Place the artwork on a plain background surface.
- Flatten the artwork if its crinkled.
- Position the entire artwork within the target container in the camera viewfinder, unless you are looking to lift the artwork from own background.
- Align the artwork with the gridlines and ensure you’re not casting a shadow.
- If you’re not happy with the photo, try again.
Location
To capture your artwork “in its best light”, the ideal place to photograph your art is in a bright room, usually near a window. Try and avoid direct sunlight falling on the artwork or relying on overhead lighting, as these could create shadow, especially if taking the photo from above.
The ArtShow app will offer you enhanced versions of your photographed artwork during the ‘adding’ process which will be brighter than your original so don’t worry too much about it not being bright enough.
Background
When using the Take Picture process, the app will dynamically crop around the edges of your artwork to remove the unwanted background. This uses some clever AI technology, but you can help the process get a great result by selecting a background (worktop, table-top, floor, paper / card etc) that contrasts with the main colour composition of your artwork. For example, if your artwork has a black border to it, try and avoid photographing it on a black surface.
Camera Position
The Take Picture function of the mobile app launches a camera viewfinder featuring grid lines and a rectangular target container. The objective is to position the artwork within the container and ensure its sides align as closely as possible to the grid lines, to ensure its as ‘square’ as possible. If the camera device is not located exactly above (i.e. square to) the artwork, your square and rectangular artwork may appear skewed. So move the device around a bit and tilt it back and forth until you find the artwork’s edges align with the grid lines as closely as possible.
Artwork Position
The app’s Take Picture camera viewfinder displays a target rectangular container area. The dynamic clipping will clip around the artwork object placed within this area, so ensure the artwork sits comfortably within this area when you take the photo (like shown).
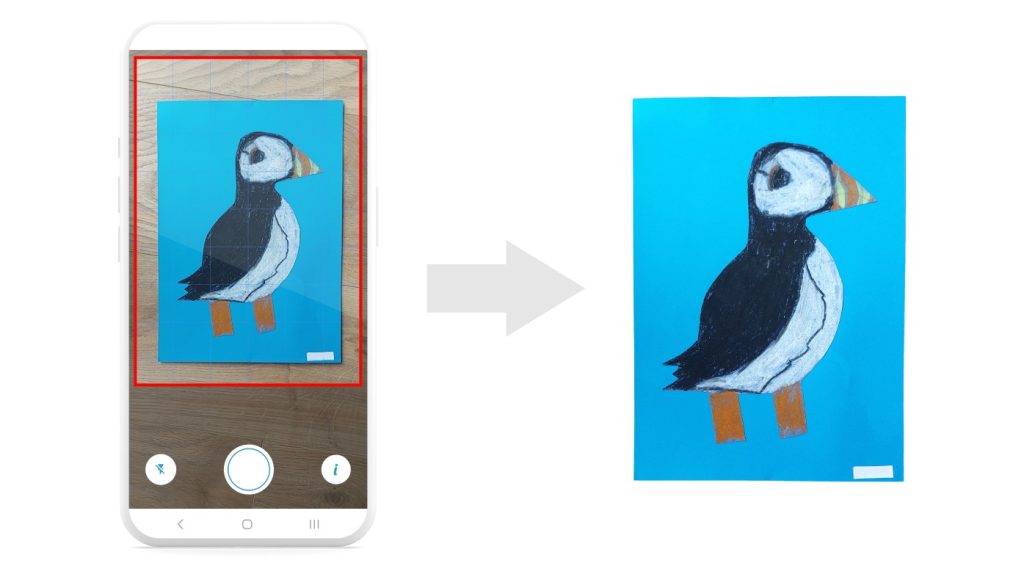
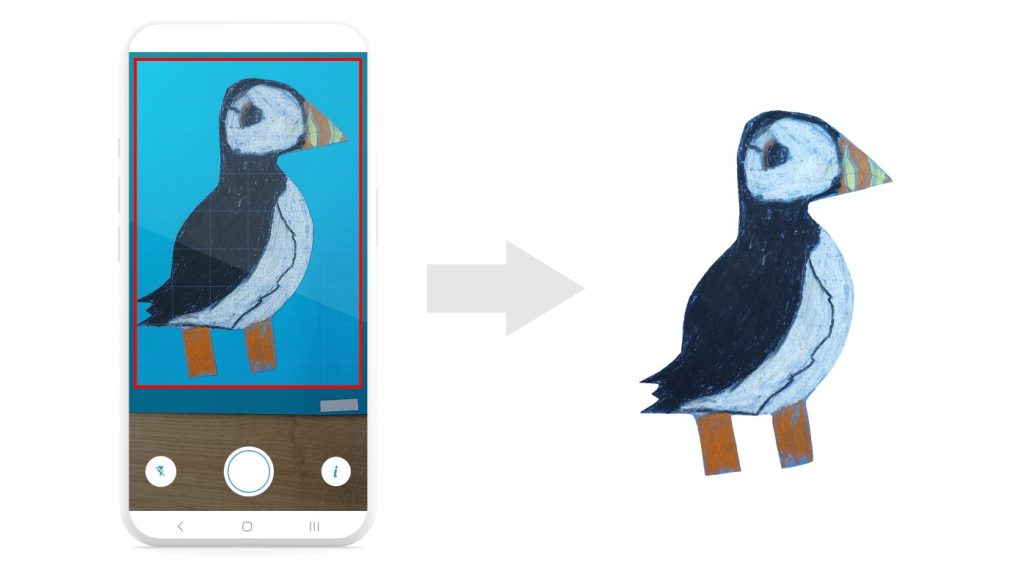
If you want to lift a design that itself sits on a plain background, such as picture on a plain sheet of paper, you can move in closer and position only the artwork element within target container area. The app will then remove the background around the object. By doing this you’ll have a transparent background that can then be printed on any number of different colour backgrounds or substrates across a variety of products.
To Flash or not to Flash
The app’s Take Picture camera function features a flash option. Generally its best to avoid using a flash, but in some cases it may be necessary and yield good results. Try it out, but if the resulting image looks washed out with brightness then abort the process and take another photo without the flash – and let the app work its magic.